Get started with AI Test Automation
Harness AI Test Automation is an AI-powered testing platform designed to streamline test creation and maintenance for software development teams. The tool uses generative AI to transform plain text test cases into automated tests, and implements self-healing mechanisms that automatically update tests when application interfaces or workflows change, reducing the manual overhead of test maintenance.
Getting started with AI Test Automation follows these steps:
Prerequisite
Your application must be accessible from the public cloud. For testing applications behind a corporate firewall please contact Harness support.
Sign-up
This document assumes that you already have an account with Harness. Login using your harness account and select AI test Automation from the module selector.
Select or Add a Project
Select the project where you want to add your tests. If one doesn't exist then create a new project. Once a project is created and you select AI Test Automation, you will be prompted to add your test environment
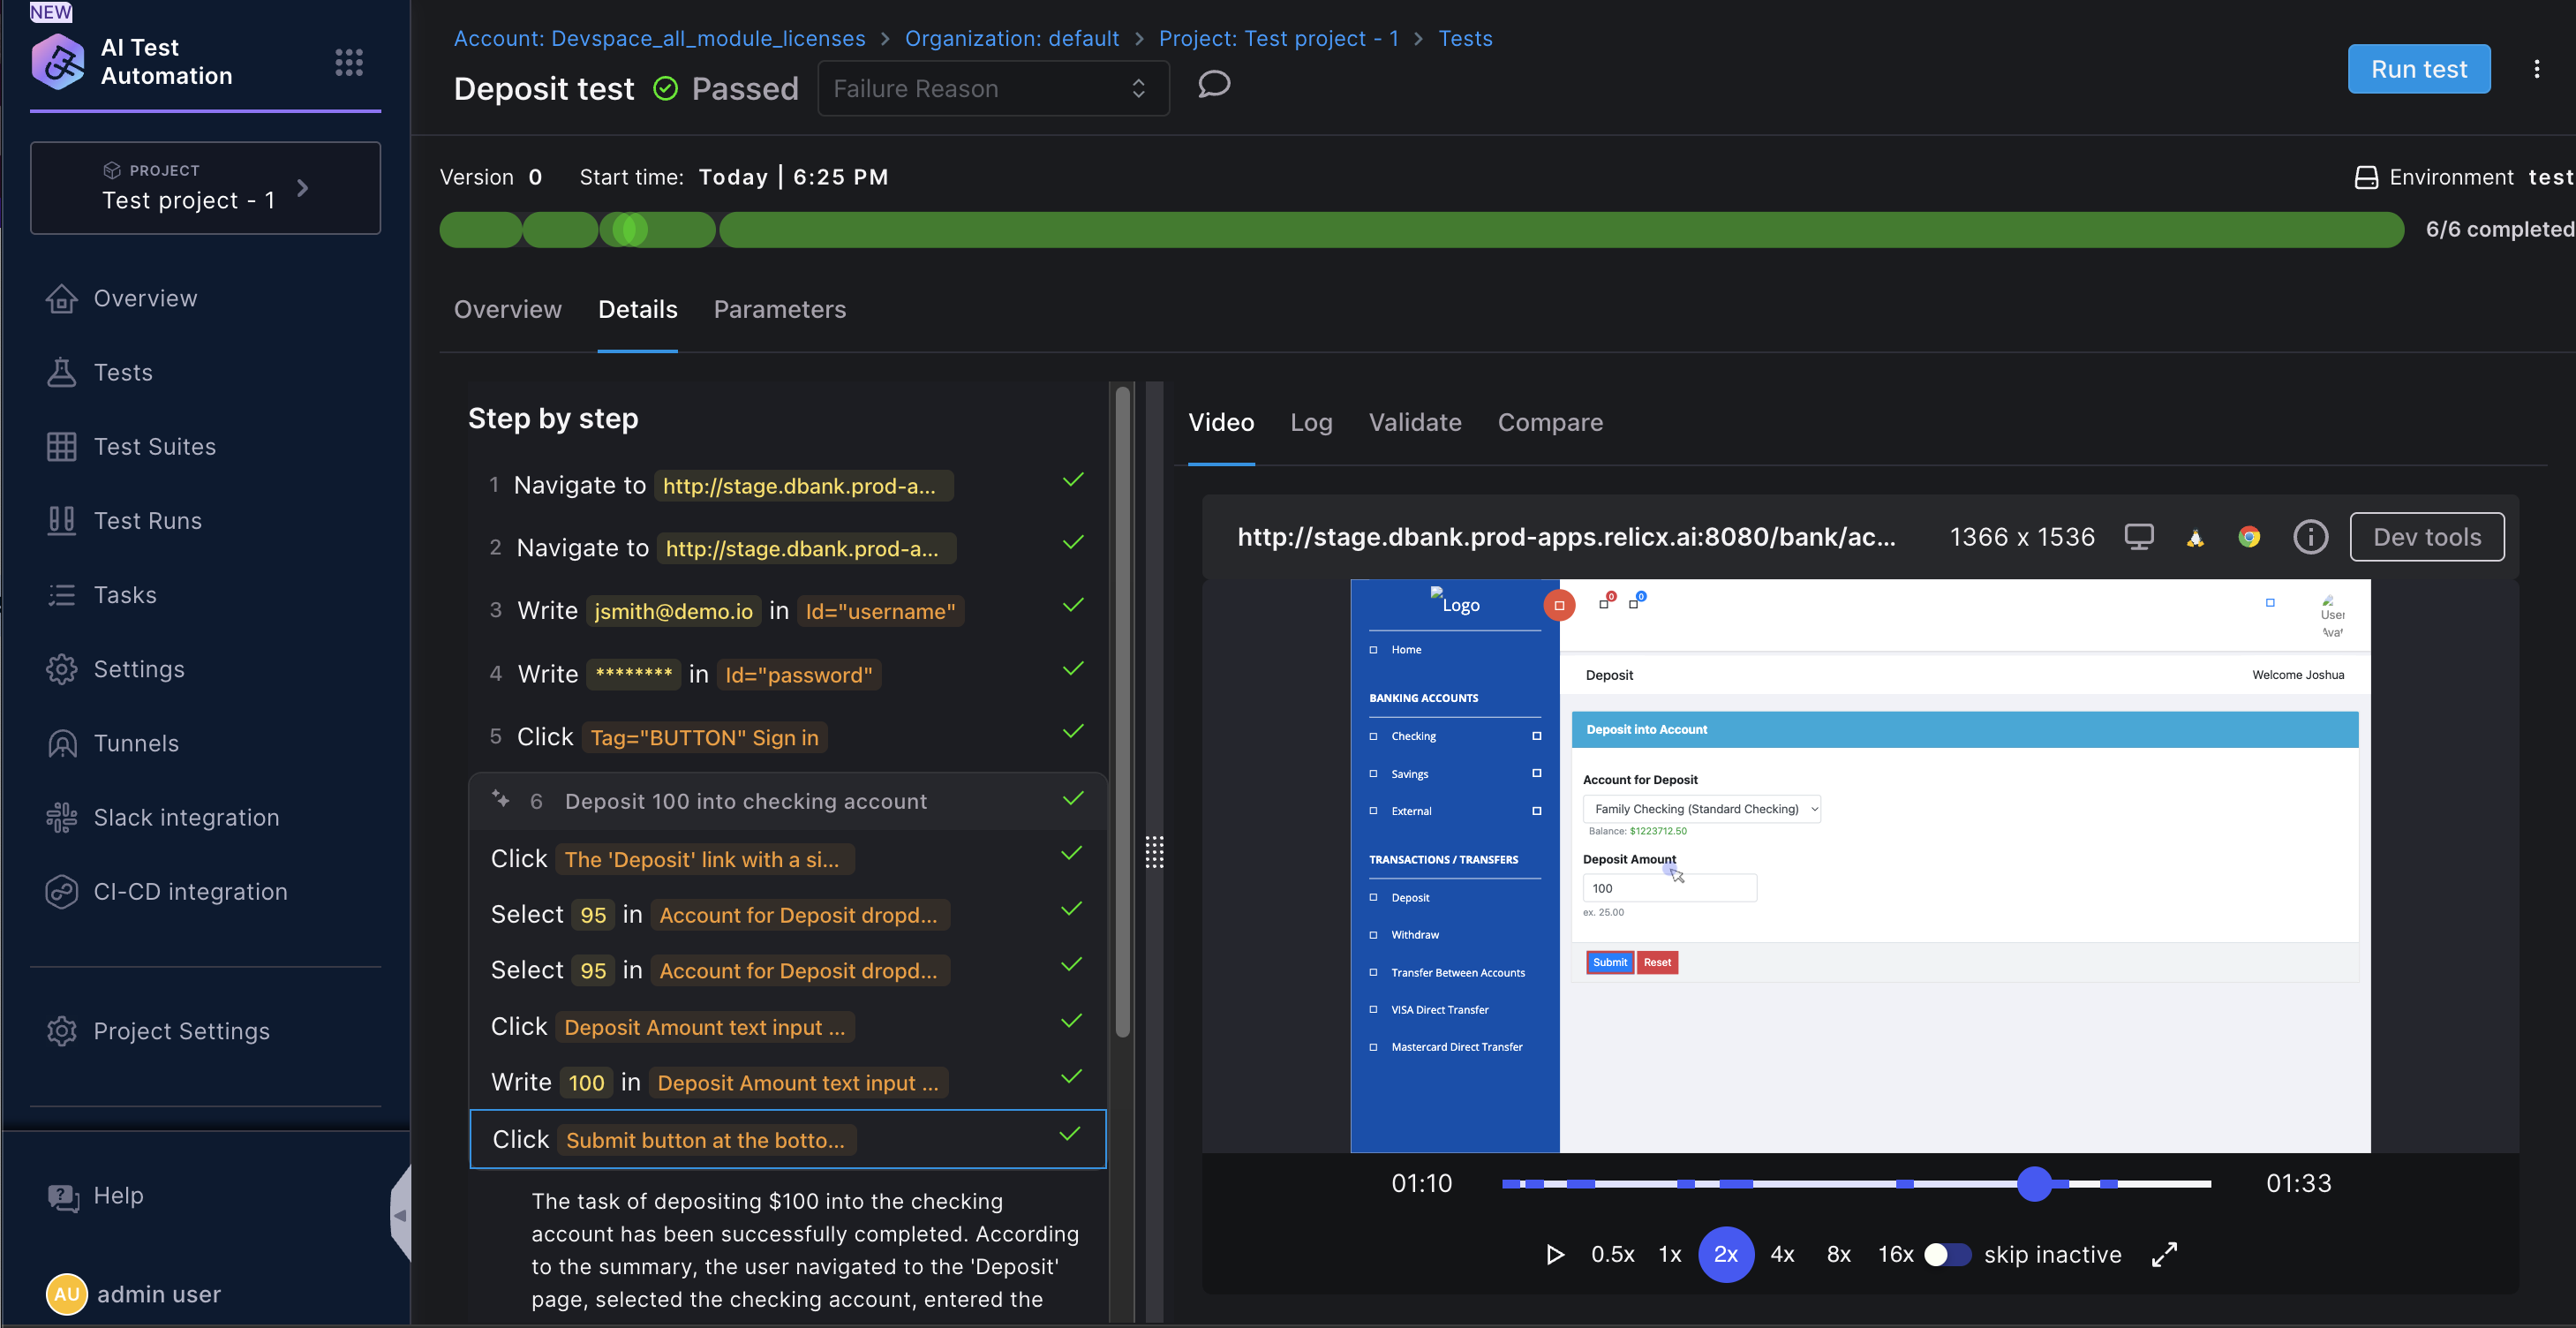
Create your first test
After you have signed up, the first step would be to create an AI powered test.
The Create Test button sets up a test pod where you can author your test while interacting with the browser.
Before you can start recording your test, check the Start URL. This should be the url pointing to your app. If needed update the URL and click on the create test button. You will now be on the Interactive AI trainer and you can start recording your test.
Once on the trainer, you can interact with the browser or may also choose to enter a natural language prompt and start authoring a test.
Once you are done, save the test and give it a name
If you choose to run the test after save, it will be executed and you can follow the execution on the test run page
Create a login task
If your application requires authentication, you can avoid repeating login steps in every test. Harness AI Test Automation lets you create a reusable login task that runs automatically whenever a test is created or executed. Simply create the task once and enter your login credentials.
After you click Create a login task, the following modal appears where you can enter the required details. This is a one-time setup, and the process works the same way as creating a test.
Enter your task name ( e.g. Login task) and login URL. For most applications, the application base URL is used for logging into the app, so no change is necessary. In the subsequent step, you can enter the username, password, or any other details like a One-time passcode (OTP)
The task should have all the steps that are necessary to login to your application.
It is always a good idea to add an assertion at the end of the login task to make sure the login is successful.
Once the login task is created, you will be able to automatically add it to your tests

Once you have created your login task and created your first test, you should be in a position to add more tests. Once you have a handful of tests, create a test suite and run your tests together.